Step by Step Process of Configuring CI / CD Pipe line in Azure DevOps
This article will show about step by step process of configuring CI / CD Pipe line in Azure DevOps. In this case I have used Azure free services such as DevOps and App Service.
You can easily create a Azure account and DevOps account from the below links.
- Azure Portal( https://portal.azure.com )
- Azure DevOps (https://dev.azure.com )
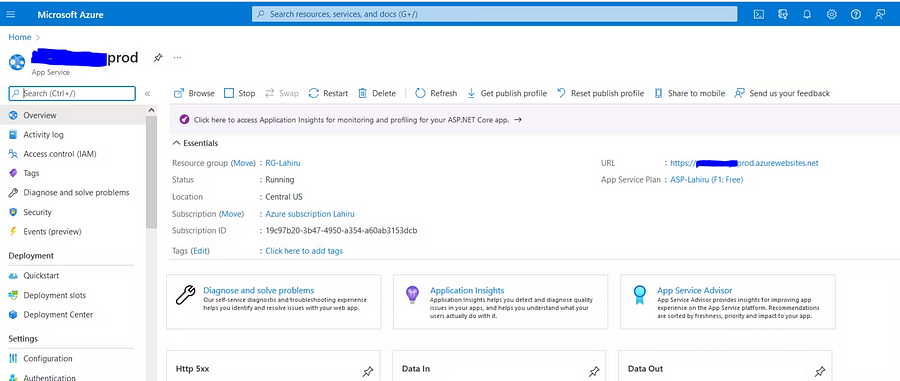
Azure App service is a free service which can be created from the Azure portal(https://portal.azure.com).

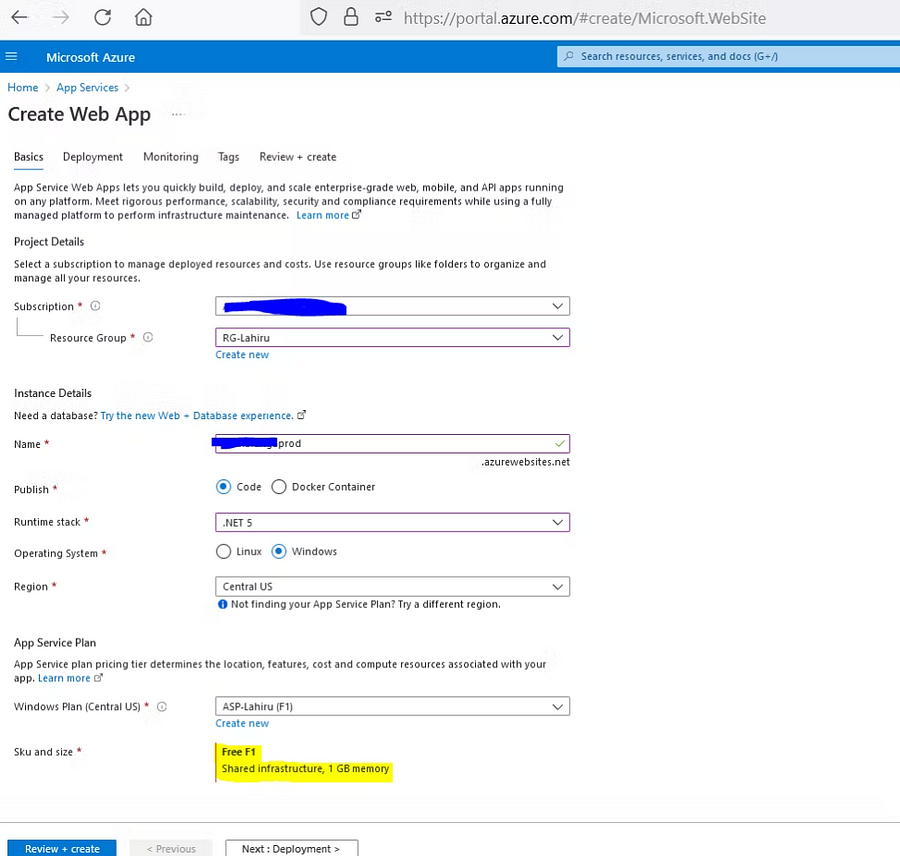
When you commit your code into Azure Git Repo, it will build and release to particular environment without releasing manual process.
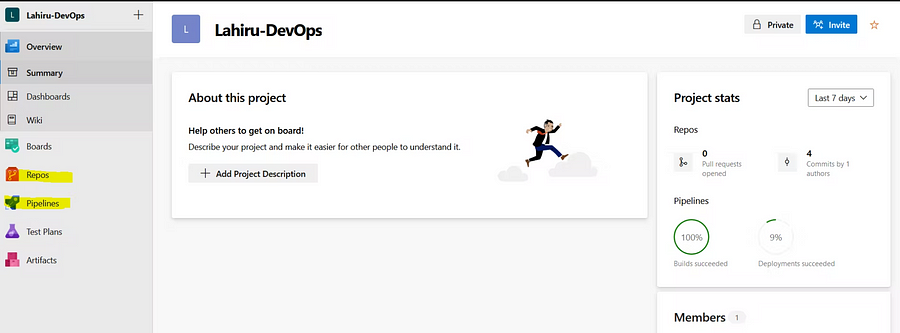
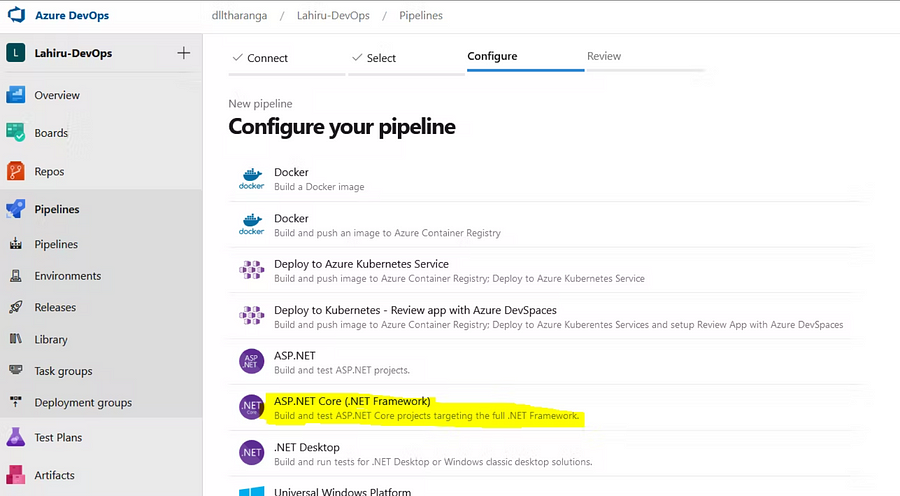
After the App Service, you can easily create a new DevOps Project as below. (https://dev.azure.com)

In this article I will not mention about basic principles of DevOps. I mainly focus about how to create and configure CI/CD Pipe line in DevOps.
Azure Repo and Pipelines are the main DevOps components which should be used in CI / CD Pipeline.
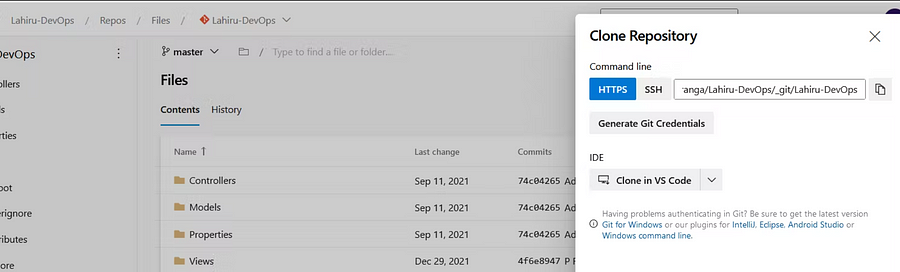
In this case I have used a default .net core web application and Git Repository. I pushed local web application to Azure Repo as below.
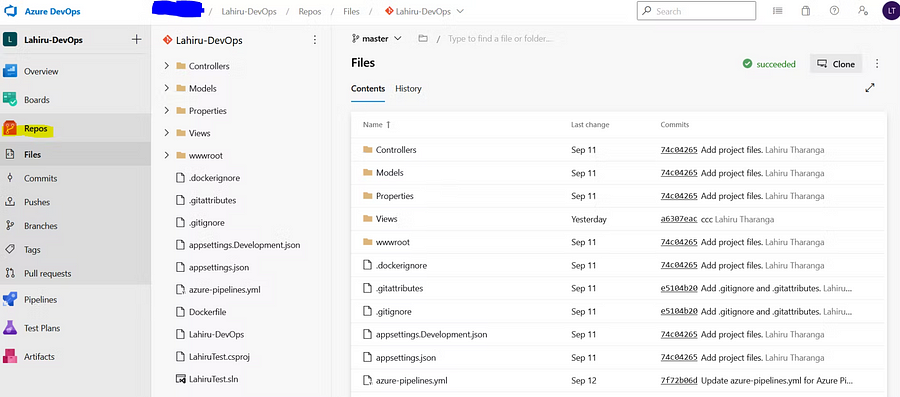
If you click “Clone” button,
What is CI / CD Pipe line?
CI/CD pipelines are a practice focused on improving software delivery throughout the software development life cycle via automation. By automating CI/CD throughout development, testing, production, and monitoring phases of the software development lifecycle, organizations are able to develop higher quality code, faster. Although it’s possible to manually execute each of the steps of a CI/CD pipeline, the true value of CI/CD pipelines is realized through automation.
Create a CI Pipeline

Following YAML file is the basic configuration file. You can configure triggering Build branch, pool and other tasks from YAML file. Task can be dragged and dropped as below.
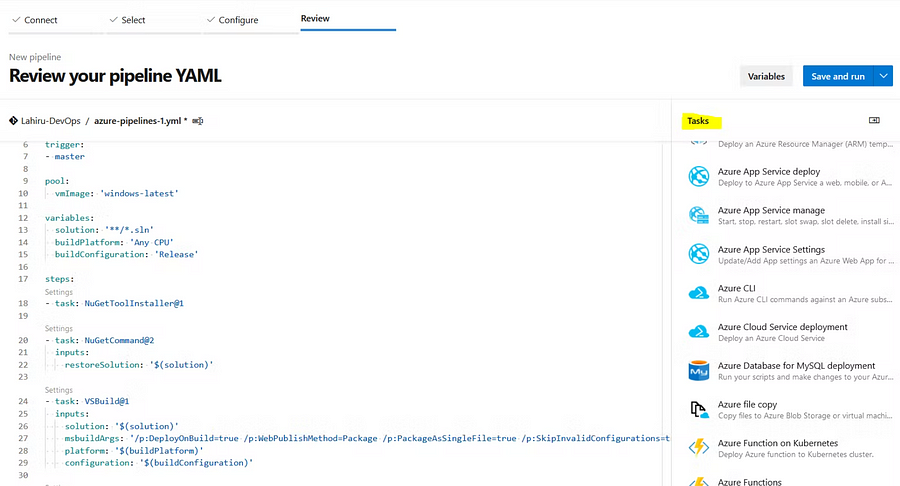
All the security features can be manage from the below section.
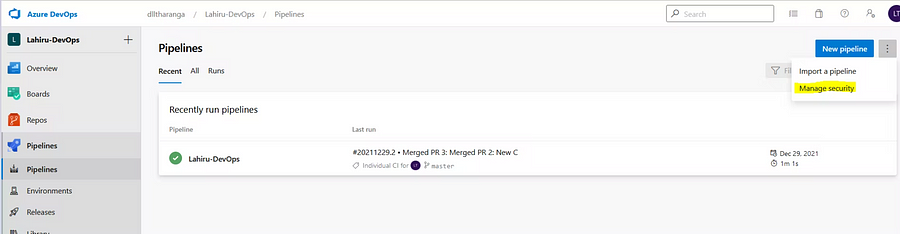
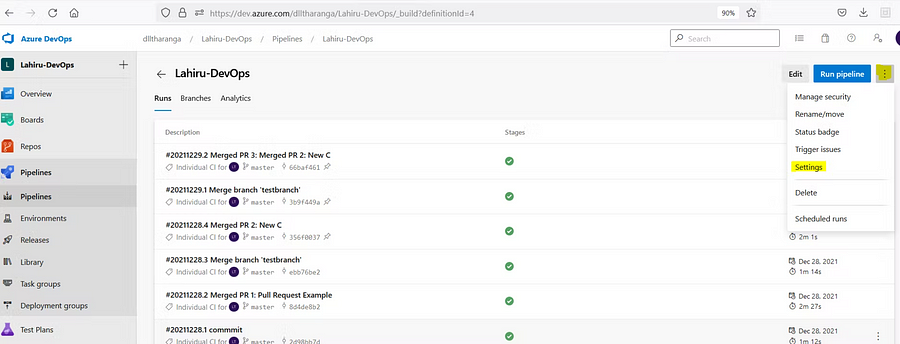
Setting Area

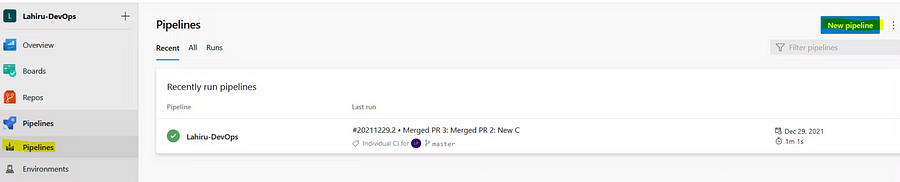
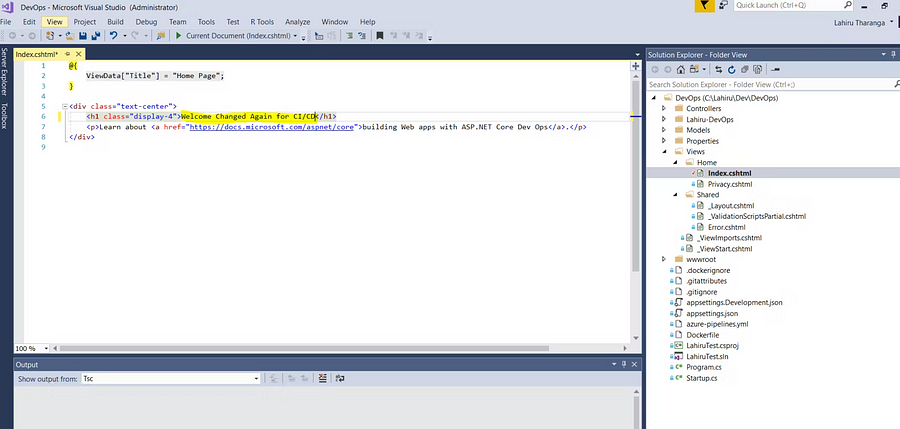
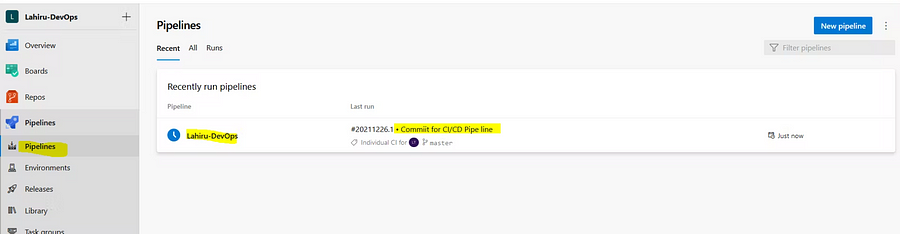
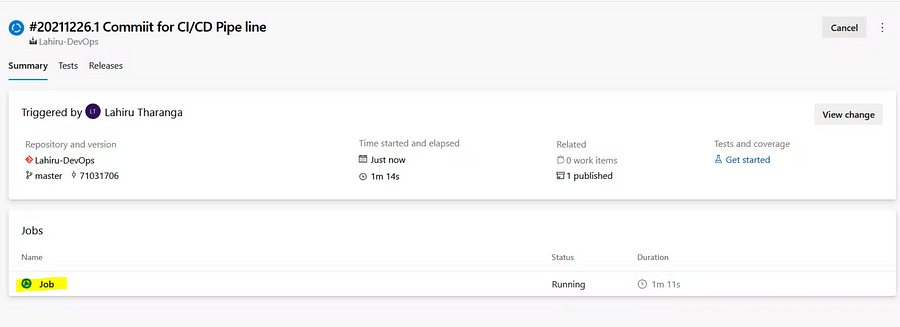
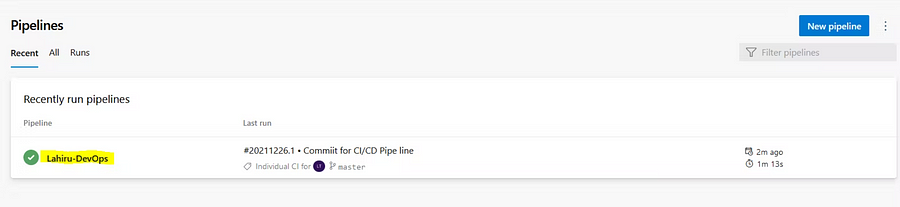
If you configure correctly, it will build automatically in the server. e.g. When you commit the code and Push in to the server , it would be automatically built with the specific steps given in the “YAML” file.
After Commit and Push
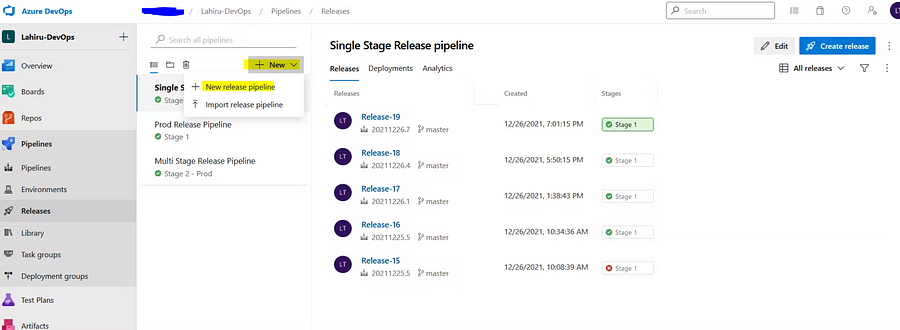
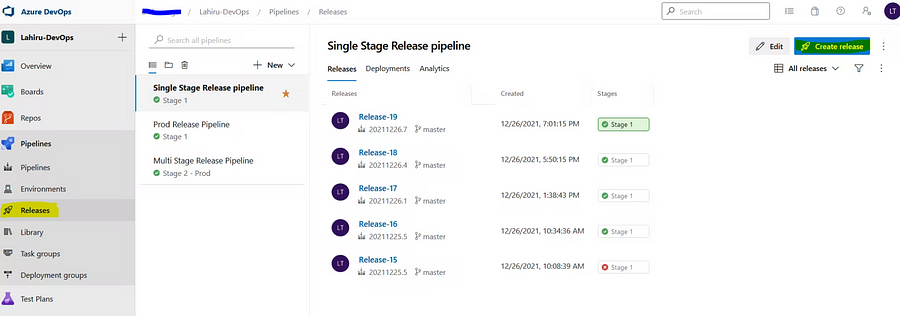
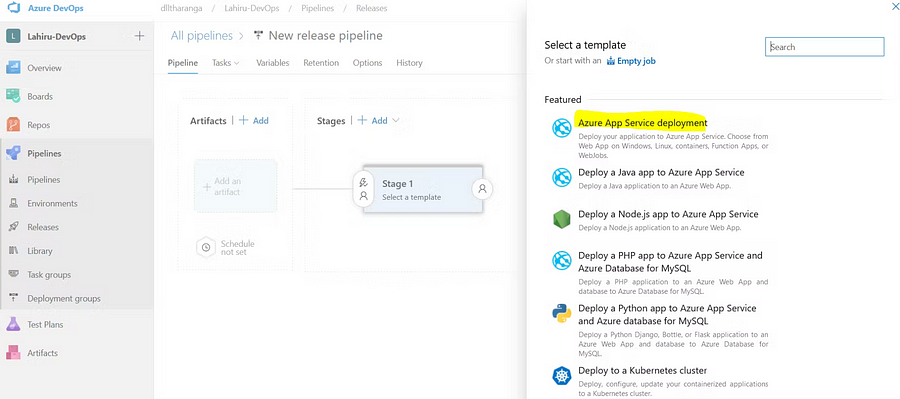
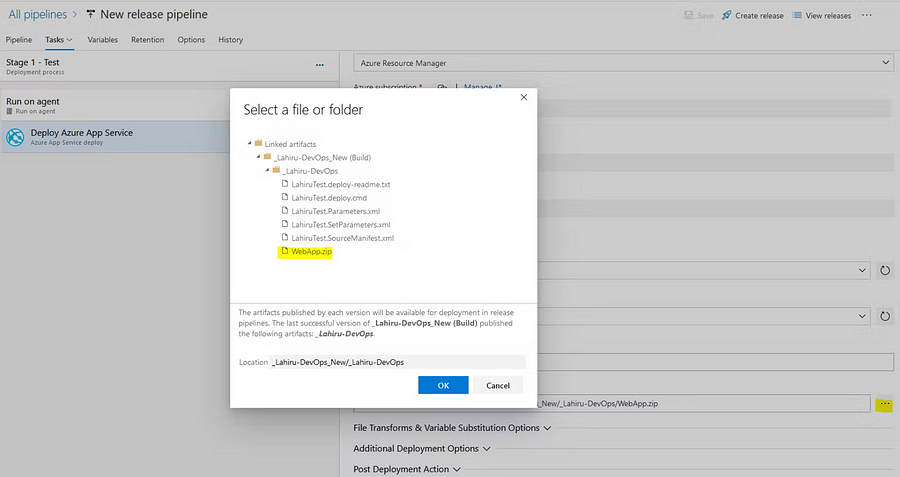
Next step is to Configure a CD Pipe Line
You need to click the “Releases” area as below.
Note : We can manage both CI / CD pipeline from the YAML file(Using 2 Stages). No need to use separate Release Pipeline. That is the best approach because you can version the yaml file. I will explain it from the next article.
References
(synopsys.com/glossary/what-is-cicd.html)
docs.microsoft.com/en-us/azure/architecture..
redhat.com/en/topics/devops/what-cicd-pipel..
Author credits: Lahiru Tharanga


Comments
Post a Comment